How to shoot Time-lapse Photography
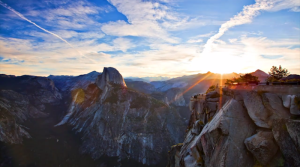
Somewhere in your travels across the internet, you've probably stumbled upon a stunning time-lapse video (such as the one above).
Such videos are becoming increasingly popular, and luckily, you can achieve this effect easily with equipment you already have. All that's necessary is a basic DSLR camera and a tripod!
What is time-lapse?
Time-lapse is basically a new method of shooting frames slower than they will be shown. Below is a diagram explaining this concept (click to enlarge).
Got it? Now, let's move on to some necessary equipment.
The Equipment
1. Intervalometer - Many cameras have these built in. If not, you'll have to use a timer (on your iPhone, for example) and shoot a frame every interval manually. If you're willing to spend a little money, intervalometers are available at many camera shops and online.
2. Tripod - any tripod will work for time-lapse. If you're shooting outdoors on a windy day, you may want to use sandbags or add weight to stabilize the tripod.
Shooting the time-lapse
Once your equipment is ready, you need to prepare your camera. Take off any camera lens filters. Also, disable image stabilization (this is usually a switch on the side of the lens).
Next, compose your shot. Instead of simply shooting the sky or a sunset, add some interesting foreground. Below, the photographer uses trees in the foreground to make the scene more engaging.
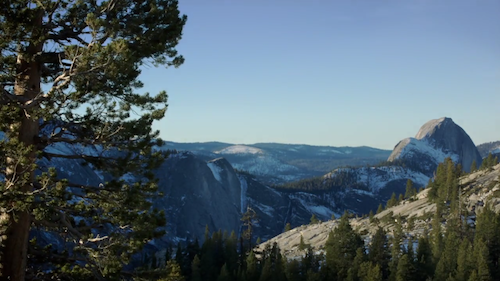
Once you are satisfied with the scene, manually focus the camera. Never use auto focus in a time-lapse.
Next, decide on an interval (e.g. every 3 seconds). Shooting photos too infrequently will make the time-lapse short and jerky.
Here's a few standard intervals to get you started:
- 1 second: moving traffic, fast-moving clouds
- 1-3 seconds: sunsets, sunrises, slower-moving clouds, crowds
- 15-30 seconds or longer: moving shadows, stars, wide sky shots, construction projects
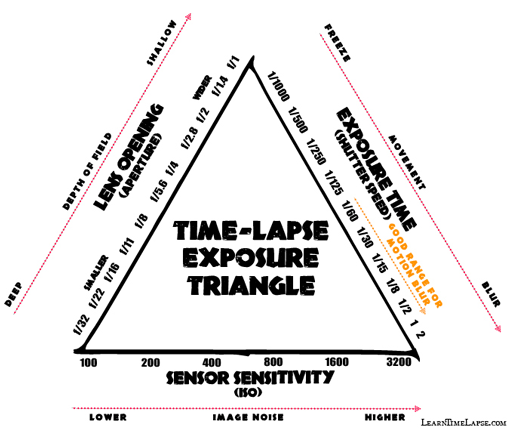
Lastly, you need to manually set your exposure; using auto will make your photos unusable. Here's a handy diagram for this; you may want to print it out and bring it with you in the field:
By setting your aperture, exposure, and ISO manually, you'll avoid time-lapse "flicker."
Then, shoot away! Make sure you have enough space on your camera's SD or CF card before starting so you can clear space if necessary.
Putting it together
Editing your work is the easiest part! Simply import your images into a movie editor, such as iMovie, and select all the images. Once you've selected all the images, simply set the frames to playback at 20-30 frames/second.
You can also find specialized software online for compiling your images.
Many photographers combine a wide variety of their time-lapses to form a unique and interesting video such as the one above. Select some appropriate music, and share it with your friends!
Next Steps
Get creative! Many photographers are using tilt shift in their time-lapses, or are using electronic dollies to create new, exciting videos! Vimeo is a great source of inspiration, so before shooting your own time-lapse, check out a few other great examples.
Did you learn from this tutorial? Share it with your friends and join us on social media for more like this! If you have any additional questions or ideas, just let the author know in the comments!
